Get GitHub Student Benefits
IMPORTANT: Do this on a device that can take photos.
Follow these steps to apply for the GitHub Student Developer Pack.
1. Sign in to GitHub
- Go to https://github.com.
- Sign into your GitHub account, or sign up if you don't have one yet.
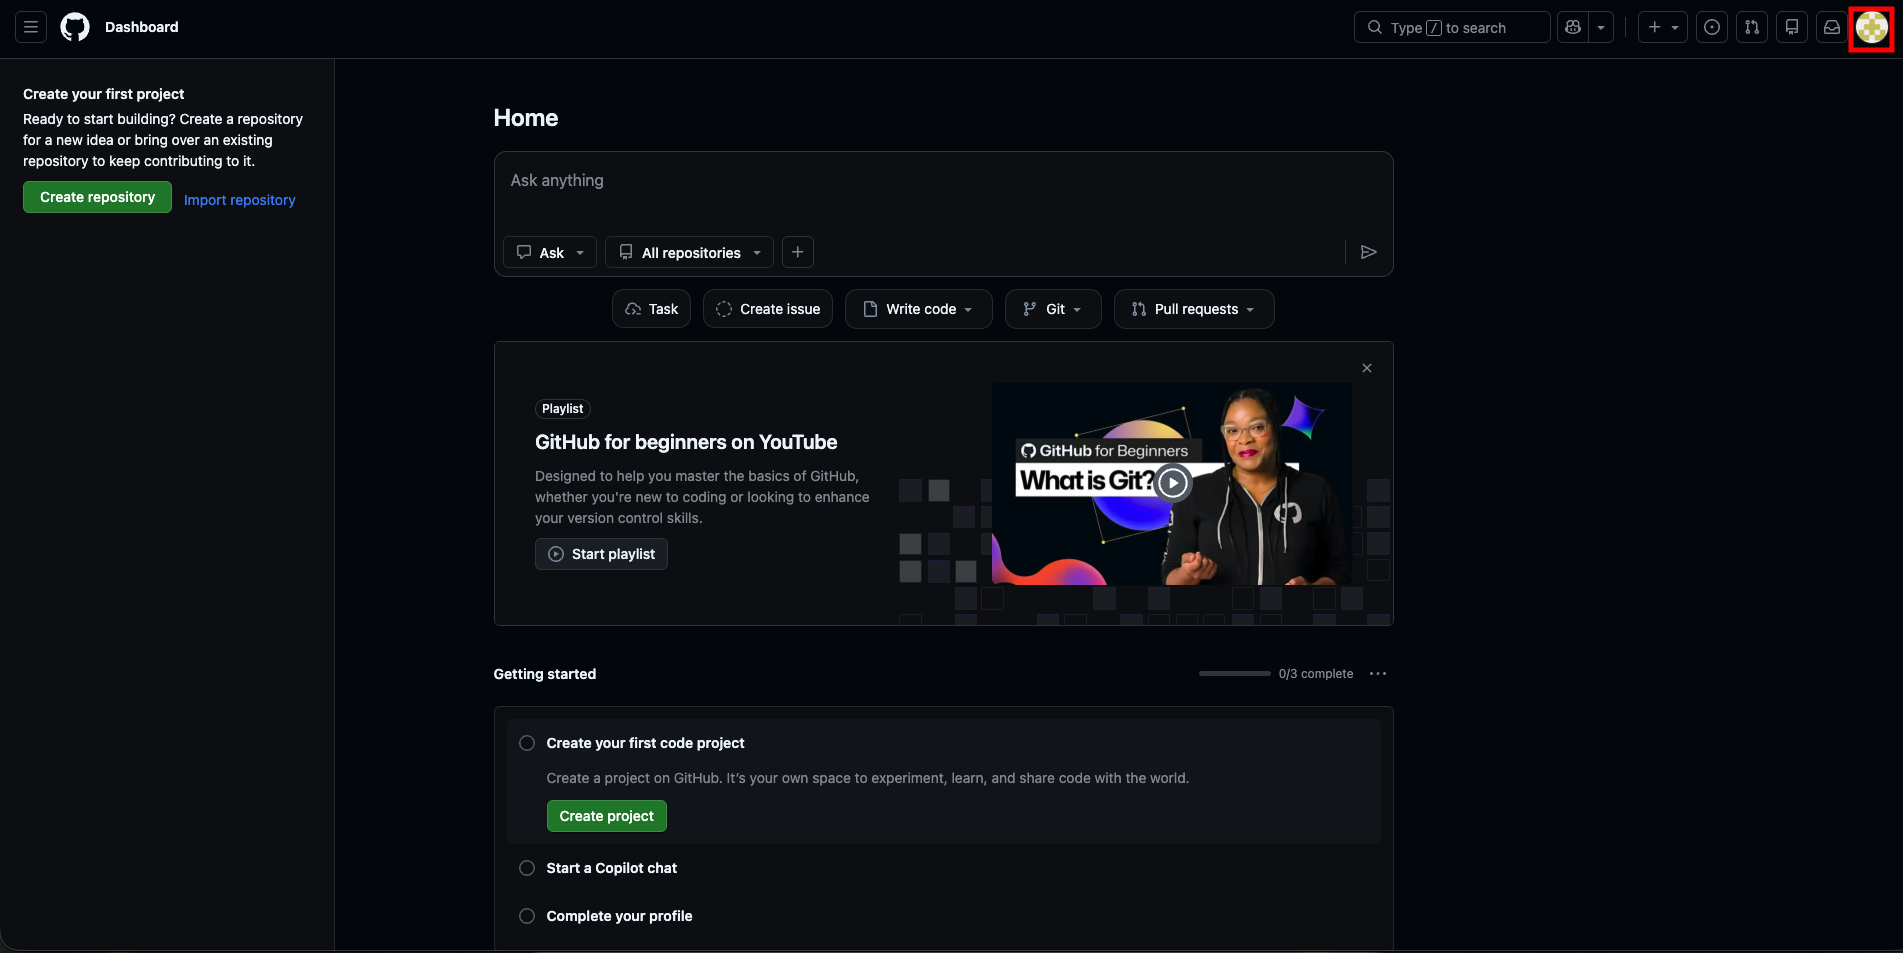
- When logged in, click on your profile picture in the top right corner.
2. Open Settings and Billing
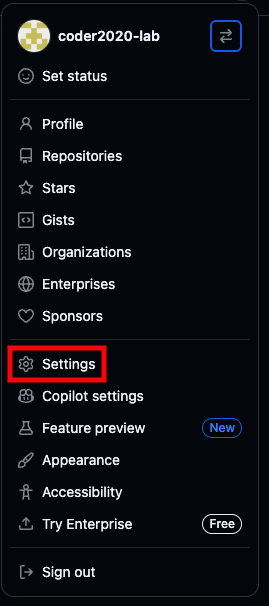
- In the dropdown, click on Settings.
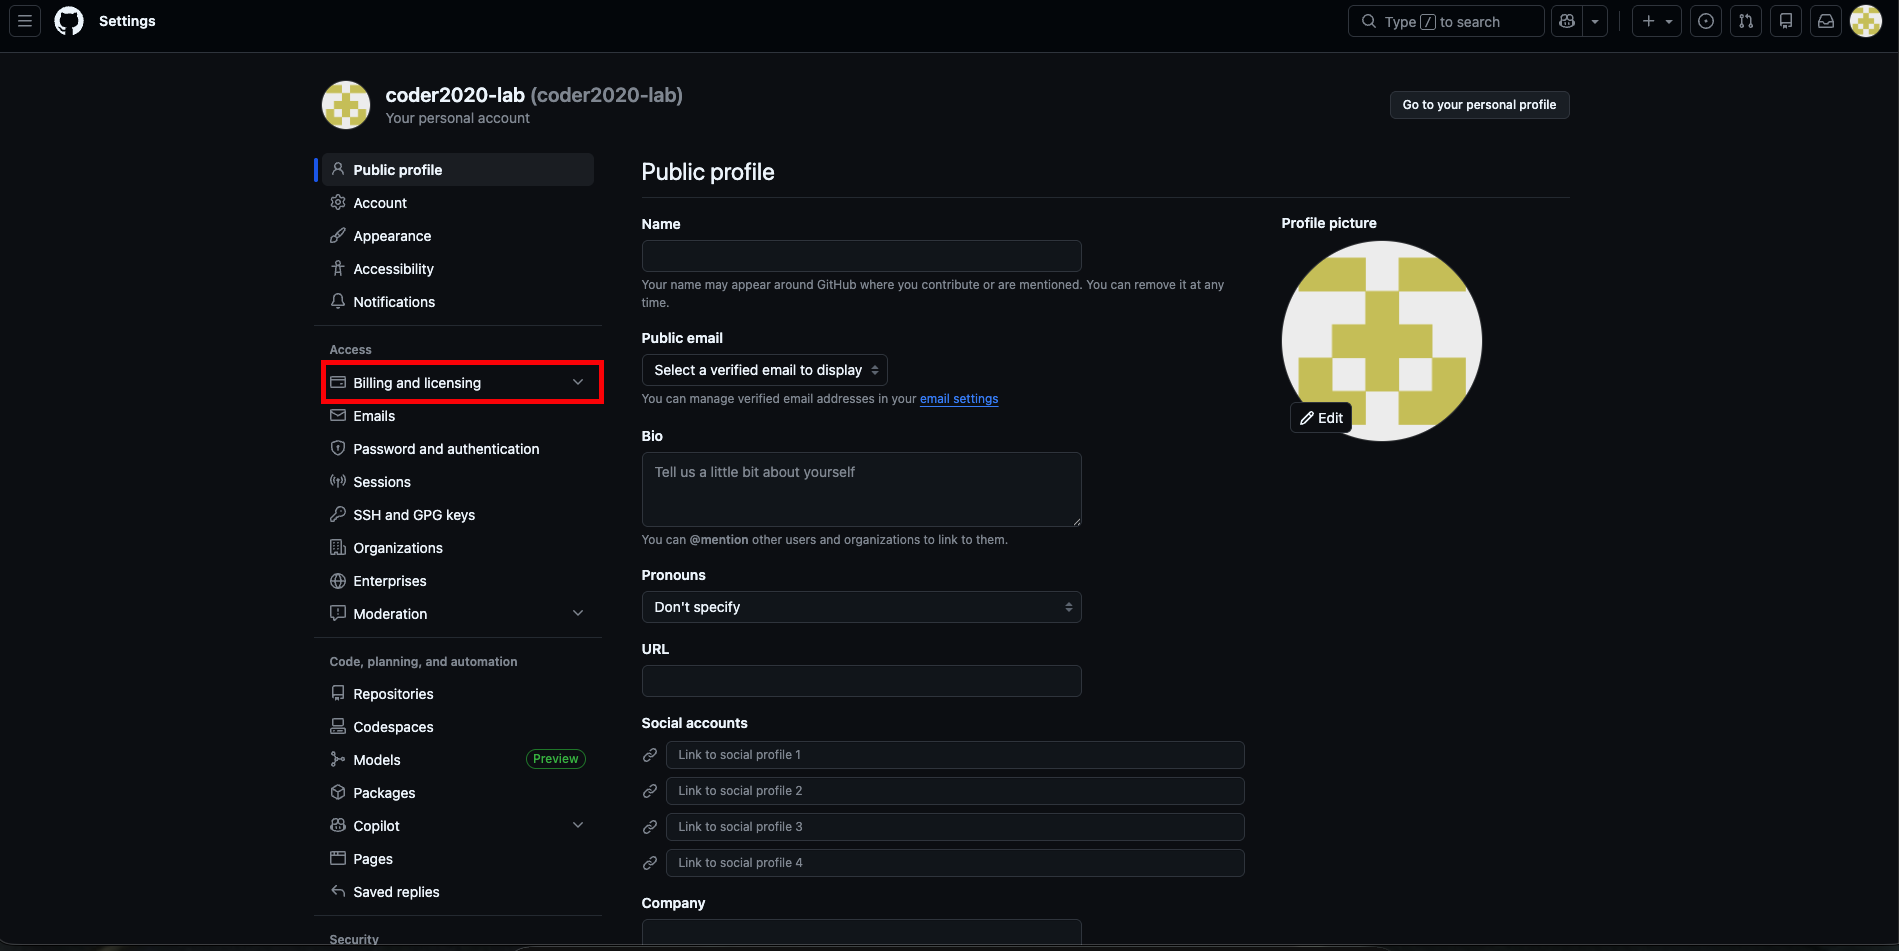
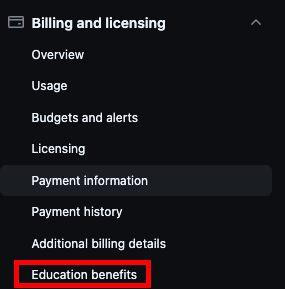
- In the left sidebar, click on Billing and licensing.
3. Add Payment Information
- Select Payment information.
- Fill it out with real information.
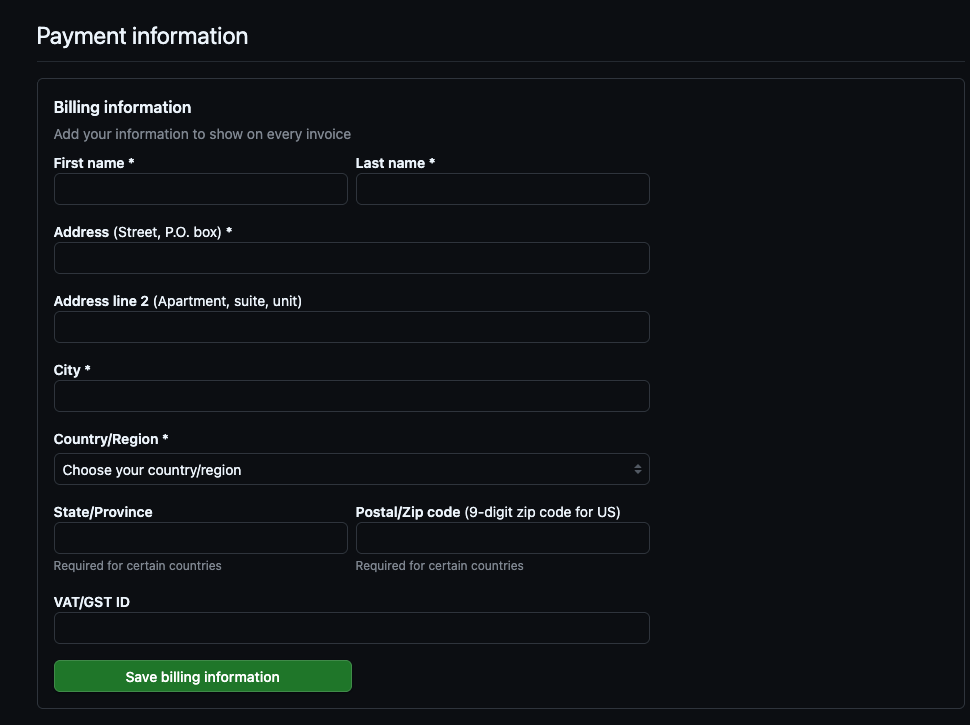
- Make sure the Name you put here is the same as your publicly displayed name.

4. Start the Education Application
- Go to Education benefits.
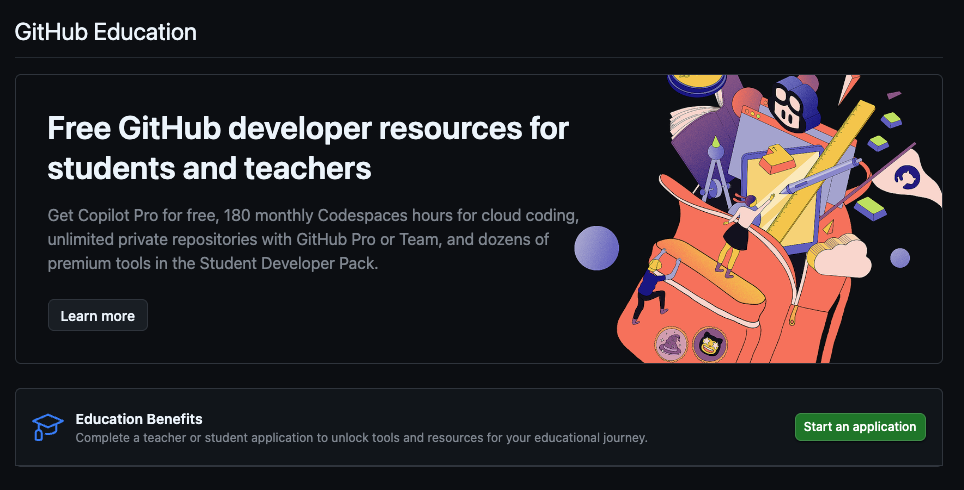
- Click Start an application.
5. Fill in Student Details
- In the popup window, select Student.
- For School, write Hack Club.
- Make sure the email is the same as your HC auth account.
- By default, this is the email you created your GitHub account with.
- You can add a secondary email if needed.

Then click Share location, and proceed by clicking Continue.
6. Choose Proof Type
- On the next page, click Select under proof of enrollment.
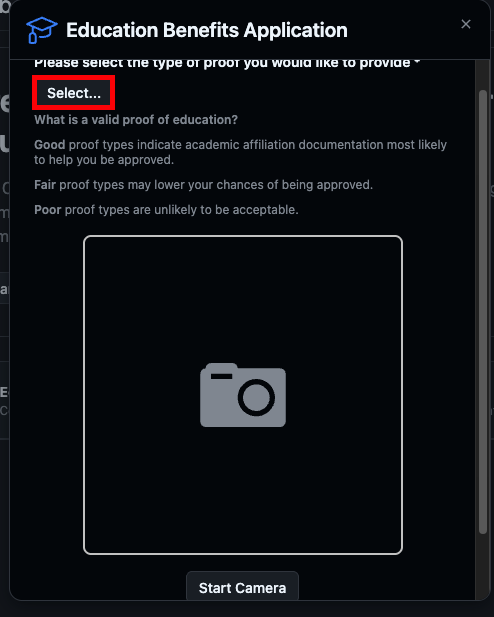
- In the dropdown menu, choose the type of proof you want to use.

Tip: A school ID is best. However, a picture of the Hack Club Slack also worked for me (after choosing Other in the dropdown).
- Take the picture and confirm the upload.
7. Submit Your Application
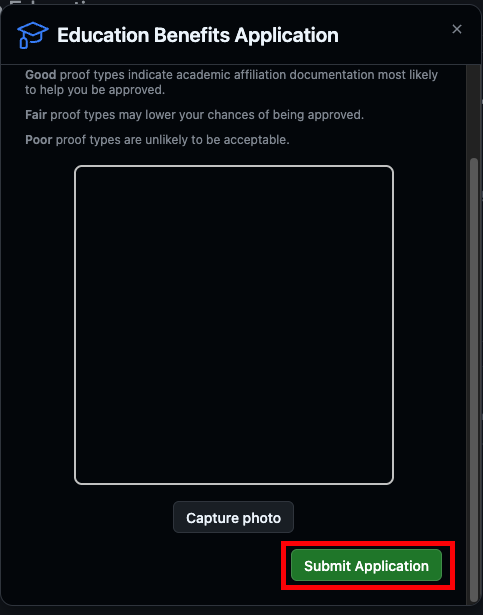
- Click the Submit application button.
You're done! Now just wait for GitHub to review and approve your Student Developer Pack.
GitHub Education Igénylése
FONTOS: Olyan eszközt használj, amivel tudsz fotókat készíteni.
Az alábbi lépéseken végighaladva igényelheted a GitHub Education-t.
1. Jelentkezz be a GitHubra
- Nyisd meg a github.com oldalt.
- Jelentkezz be a GitHub fiókodba, vagy regisztrálj, ha még nincs.
- Bejelentkezés után kattints a profilképedre a jobb felső sarokban.
2. Settings and Billing megnyitása
- A lenyíló menüben kattints a Settings (Beállítások) menüpontra.
- A bal oldali sávban kattints a Billing and licensing (Számlázás és licencek) menüpontra.
3. Fizetési adatok hozzáadása
- Válaszd a Payment information (Fizetési adatok) menüpontot.
- Töltsd ki a mezőket valós adatokkal.
- Győződj meg róla, hogy a Name (Név) mezőben megadott név megegyezik a nyilvánosan megjelenített neveddel.
4. GitHub Education igénylésének indítása
- Nyisd meg az Education benefits (Oktatási kedvezmények) részt.
- Kattints a Start an application (Jelentkezés indítása) gombra.
5. Diákadatok kitöltése
- A felugró ablakban válaszd a Student (Diák) lehetőséget.
- A School (Iskola) mezőbe írd be, hogy Hack Club.
- Győződj meg róla, hogy az email cím megegyezik a HC auth fiókodhoz tartozó email címmel.
- Alapértelmezetten ez az az email, amivel a GitHub fiókodat létrehoztad.
- Szükség esetén hozzáadhatsz másodlagos email címet is.
Ezután kattints a Share location (Hely megosztása) gombra, majd a Continue (Tovább) gombra.
6. Igazolás típusának kiválasztása
- A következő oldalon kattints a Select (Kiválasztás) gombra a hallgatói jogviszony igazolása alatt.
- A legördülő menüből válaszd ki, milyen igazolást szeretnél használni.
Tipp: A diákigazolvány a legjobb választás. Nekem az is működött, hogy a Hack Club Slackről készítettem képernyőképet (ehhez a listában az Other / Egyéb lehetőséget választottam).
- Készítsd el a fényképet / képernyőképet, majd erősítsd meg a feltöltést.
7. Jelentkezés elküldése
- Kattints a Submit application (Jelentkezés elküldése) gombra.
Készen vagy! Most már csak meg kell várnod, hogy a GitHub elbírálja és jóváhagyja a Student Developer Pack jelentkezésed.